Please select a model to get started
Please select a model to get started
Upscaling is usually not the end goal. It is the step that makes assets usable again across storefronts, decks, ads, and branded exports.
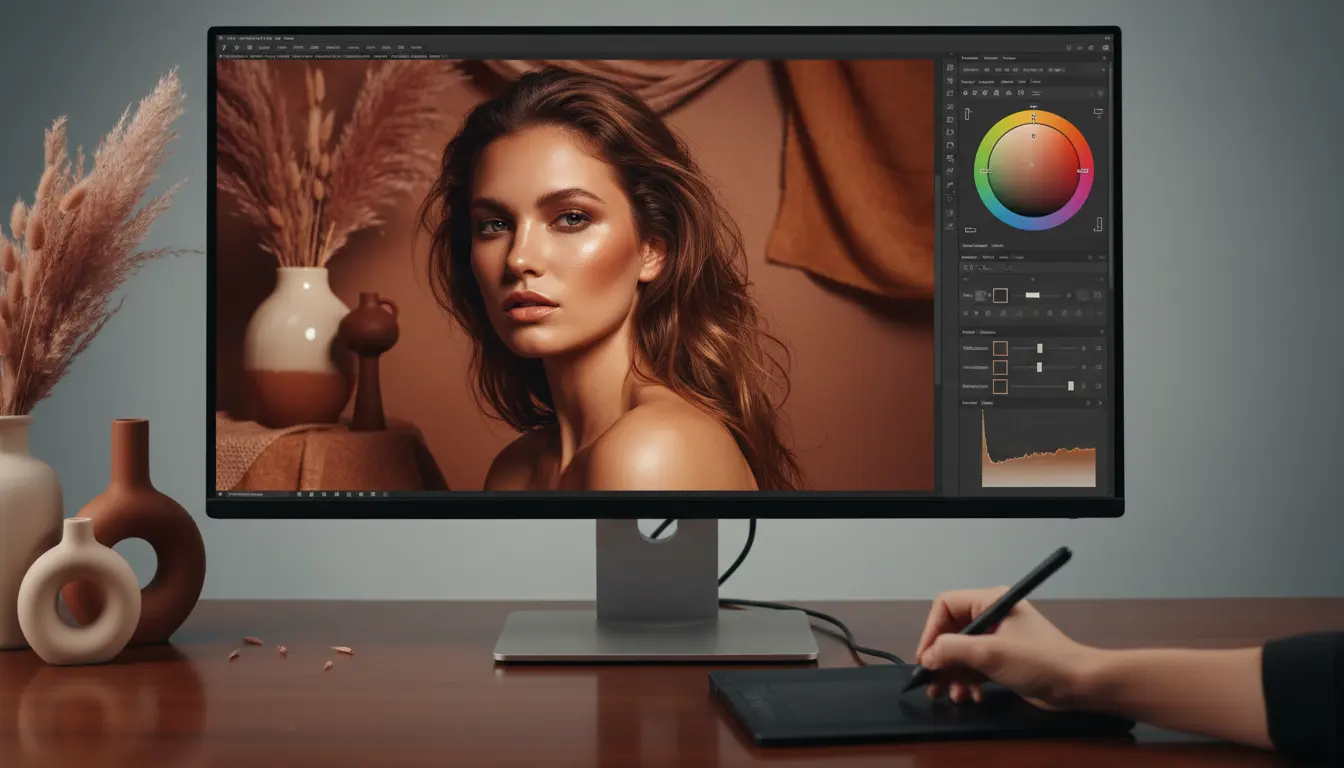
Soft eyelashes, skin texture, fabric weave, and hair strands matter when a portrait moves from a quick proof to a client-facing asset. A stronger upscale helps the image hold together on cropped social placements, profile banners, and polished creator packages.
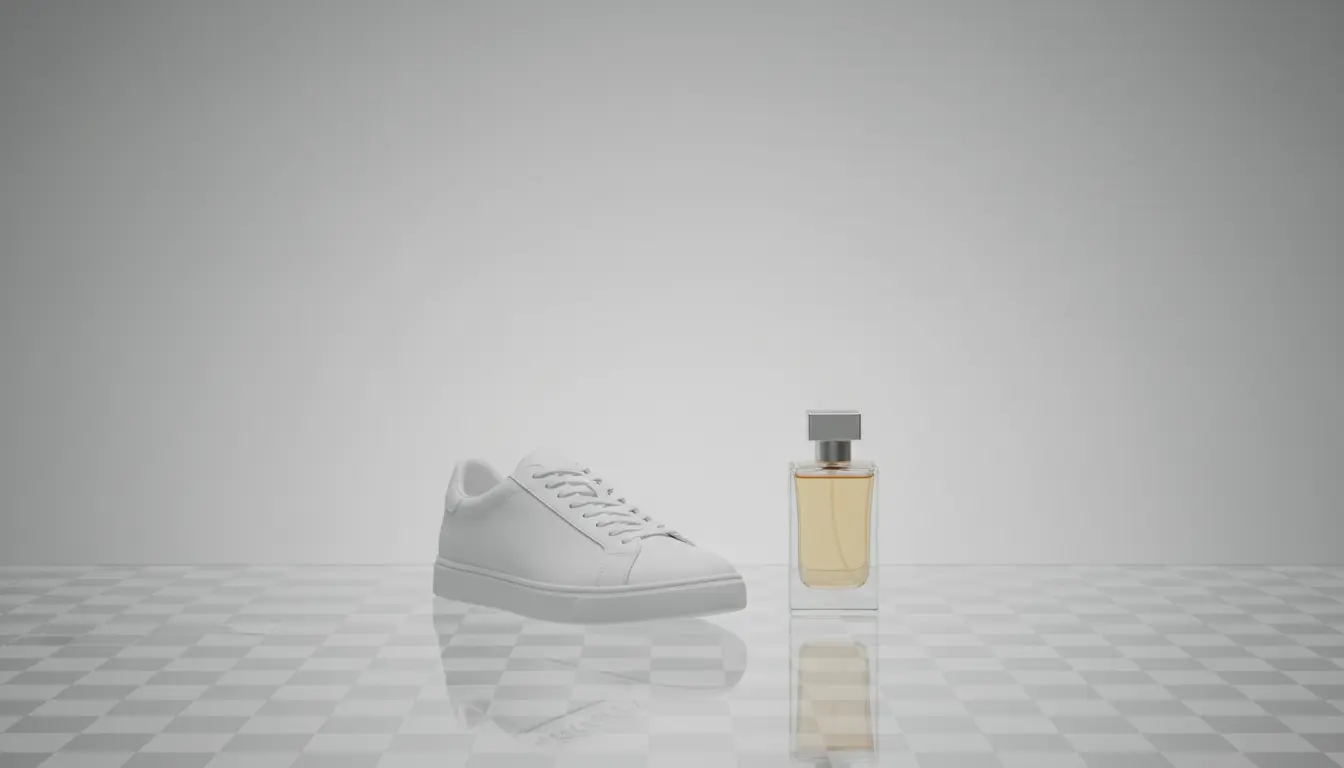
If a marketplace tile, PDP zoom, or catalog card looks fuzzy, trust drops fast. Upscaling helps restore stitching, edges, packaging texture, and material clarity so product images feel more intentional at every crop size.
The best results come when sharpening, cutouts, edits, and source generation all work together instead of living in separate tabs.
Clean subject isolation often makes the final upscale more useful for ads, catalogs, and transparent exports. Prep the source first, then sharpen the asset you actually plan to publish.
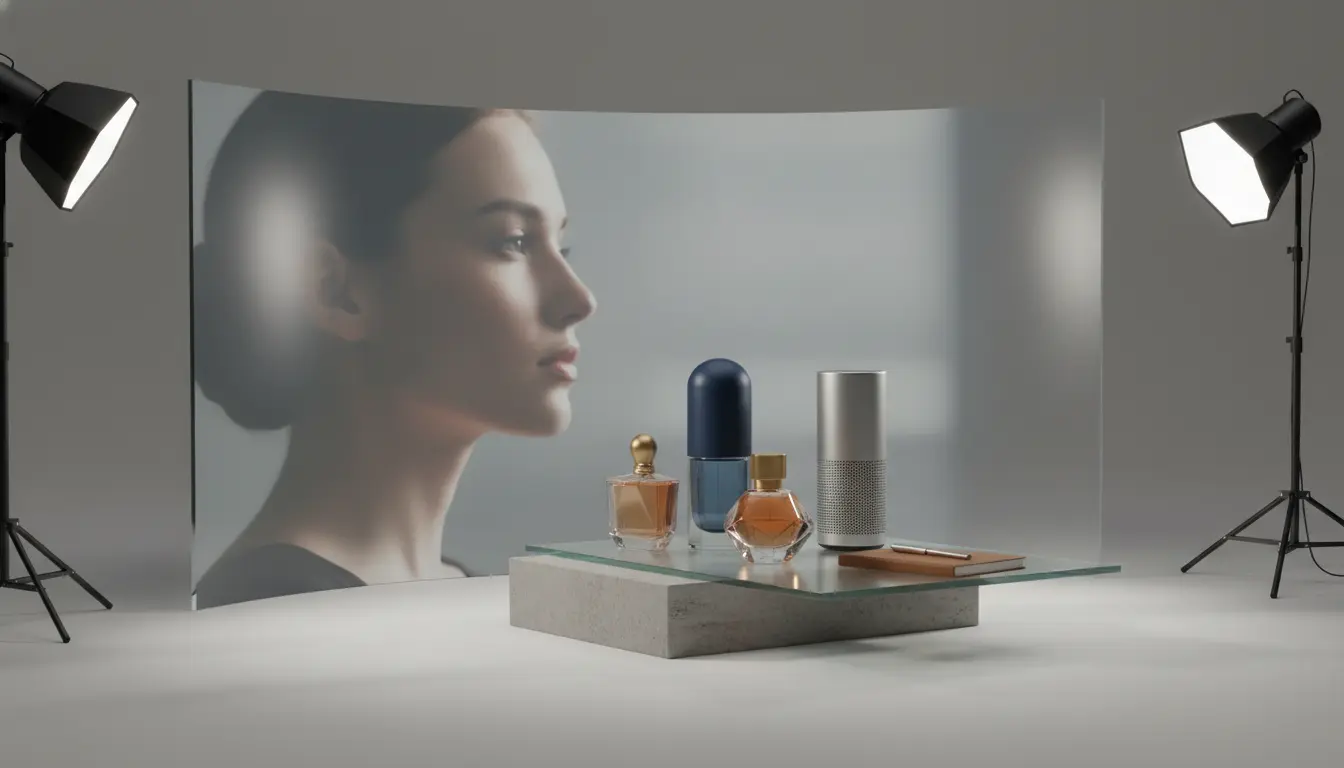
After you upscale, move into AI Image Editor to swap backgrounds, extend the frame, fix composition, or adapt the sharper file for new placements and formats.
If the original file is weak, create a stronger starting point with AI Image Generator, then use Upscale Image for extra detail before delivery.
See when to use 2x versus 4x, how face enhancement changes results, and how teams move from rough source files to sharper ecommerce and campaign assets.
Upscale Image for print, product pages, and portrait crops with a simple workflow that focuses on speed first and manual cleanup only when you truly need it.
Bring in the portrait, product shot, scanned photo, or campaign asset that feels too soft for your final use case. If the composition is already right, upscaling is often the fastest fix.
Use a lighter upscale when the image only needs clearer crops, and push further when the file is heading to storefront zoom, deck slides, or print. Portraits may benefit from face enhancement, while products often look best with natural texture preserved.
Once the photo looks cleaner, send it to the product page, the paid social crop, the slide deck, or the designer who needs a higher-quality source file without rebuilding the entire image.
Common questions about when to Upscale Image, how much detail AI can recover, and how to fit sharper files into a broader content workflow.
Upscaling is best when the composition already works and you mainly need more usable detail. Regeneration makes more sense when the framing, subject, or art direction still needs major changes.
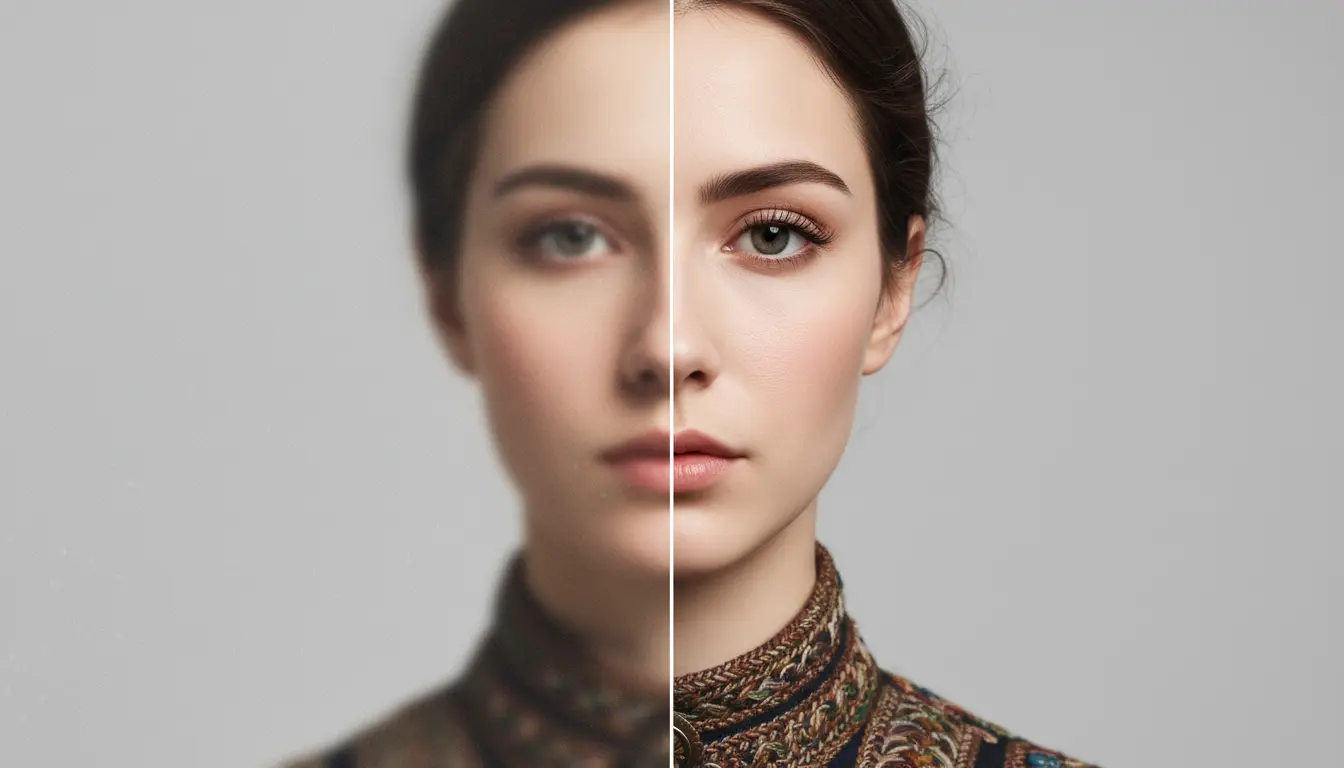
AI can improve perceived sharpness, texture, and clarity, especially for portraits and product photos. It cannot recreate every missing pixel perfectly, but it can produce a much more usable delivery file.
Use the smallest scale that solves the delivery problem. Lighter scaling is often enough for web crops, while larger scaling is more helpful for zoom views, presentations, and print preparation.
Face enhancement can help portraits, avatars, and creator images when the face is important in the final crop. For products, landscapes, and graphics, the standard upscale is usually the better first choice.
Sometimes, yes. If the final asset depends on a clean cutout, isolating the subject first can make the sharpened export easier to reuse across branded layouts and transparent workflows.
Most teams either publish the sharper file directly or move it into an editing workflow for new backgrounds, format changes, or campaign-specific layout work.
2x to 4x scaling - Optional face enhancement - Better assets for ecommerce and print